How to Delete an User Account from Windows 11 – TechDator
We use multiple user accounts in Windows when more than one person uses the same computer. We also use different user accounts to stop unauthorized access to sensitive files while doing office work on the computer.
However, if you no longer need multiple user accounts and want to delete them but don’t know how then you’ve come to the right place. Creating a user account is easy, and the deletion process is also easy.
We have compiled some of the best methods that you can use to easily remove and Delete an account from your Windows 11 system. Read all the methods carefully and choose the one you find easy to execute.
Best Ways To Delete User Accounts in Windows 11
There are several ways to remove or delete a user account in Windows 11. We have mentioned all the methods in the step-by-step guide, so follow each properly.
1. Delete a User Account Using The Settings App
The easiest way to delete a user account is through the Settings app, which anyone can use without any issues. To do this follow the steps given below.
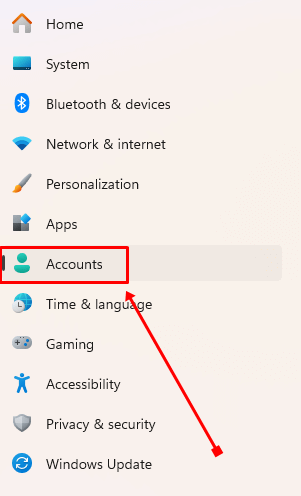
- Press Windows + I to open the Settings app, then click the Accounts option.
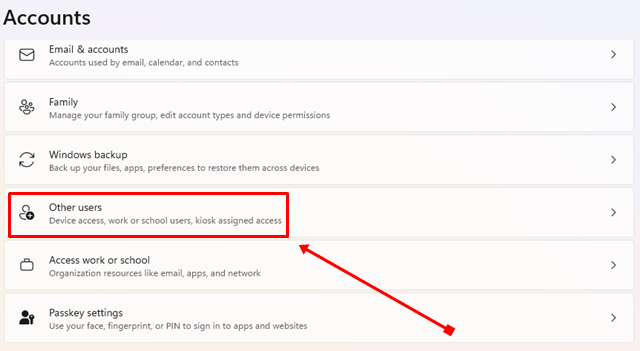
- Scroll down and click on the Other users option.
- Click on the account you want to remove, then tap on the Remove button located just next to the Account and Data option.
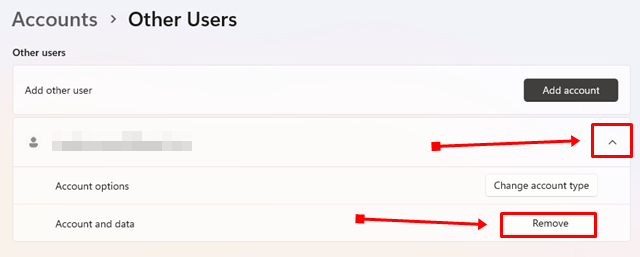
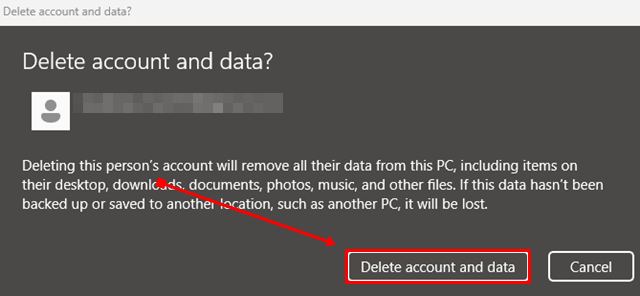
- Finally, confirm with the Delete account and data button.
2. Delete a User Account Using The Control Panel
In the Control Panel, you will find the option to keep all files from the user account when deleting. Follow the steps below to learn more.
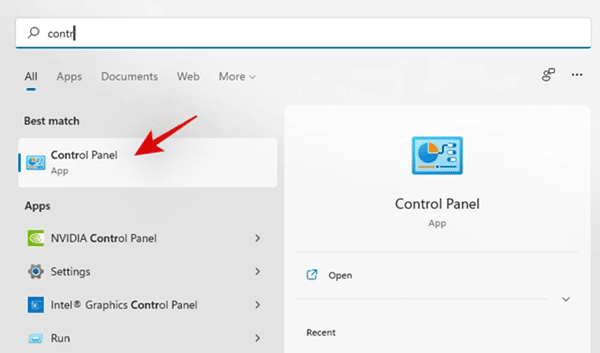
- Press the Windows key and search for Control Panel in the search bar, then click to open.
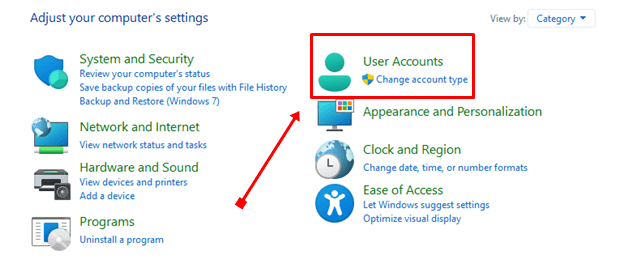
- Click on User Accounts in the Control Panel.
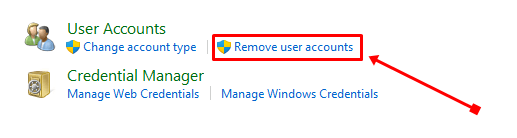
- Select Remove user accounts.
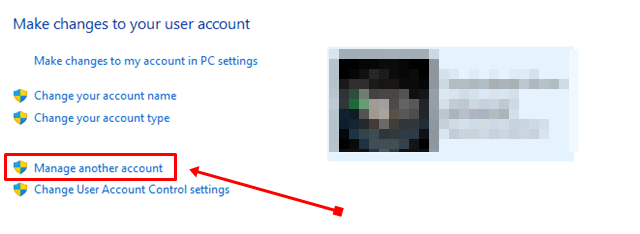
- Now, click on the Manage another account option.
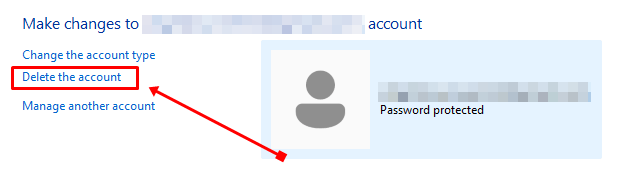
- You will see a list of all user accounts, click on the account you want to remove.
- Tap on the Delete the Account option.
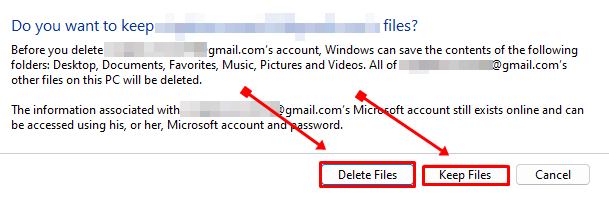
- If you don’t want any files from that account, click on the Delete Files button. Or if you want files and data from that user account then tap on the Keep files option.
3. Delete a User Account Using Command Prompt
Another method to delete a user account from Windows 11 is by using the Command Prompt.
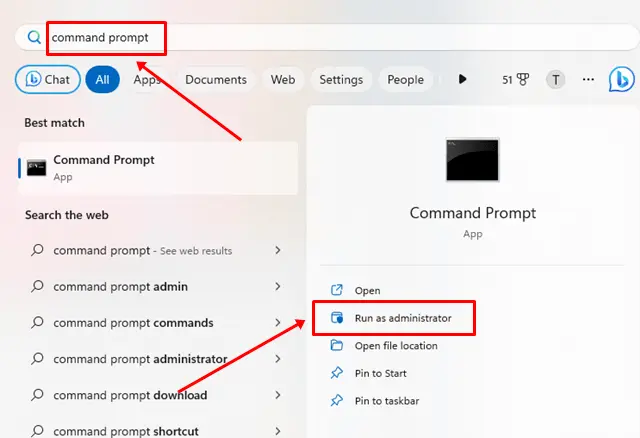
- Press the Windows key and type Command Prompt in the search bar.
- In the right panel, you will see the Run as administrator option, click on it.
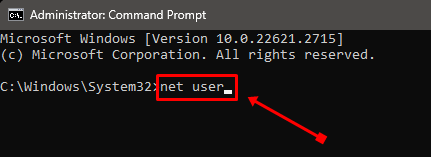
- In the Command Prompt window, type net user and press Enter.
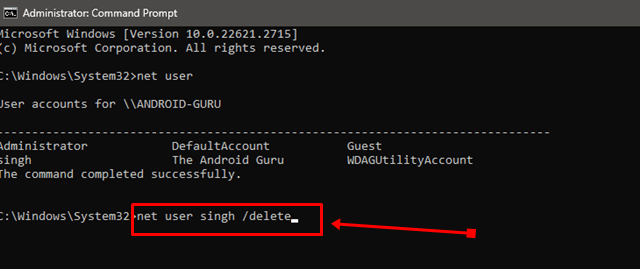
- To remove a user account, type net user USERNAME /delete and press Enter. Make sure to replace USERNAME with the actual name of the account.
4. Delete a User Account Using Windows PowerShell
Like a Command Prompt, PowerShell is also a command-line interface. With PowerShell, you can delete a user account smoothly and efficiently.
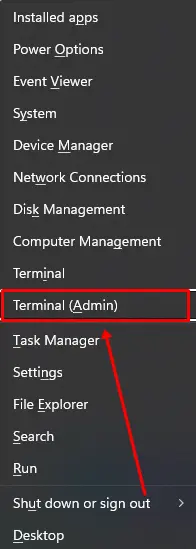
- Press Windows + X and click on the Terminal (Admin) option.
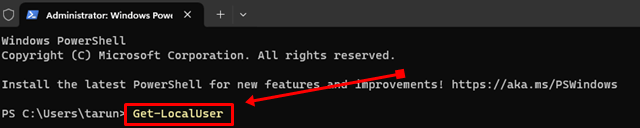
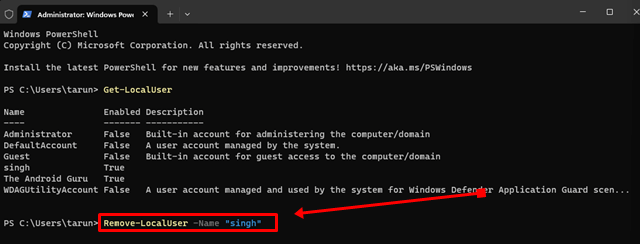
- Type Get-LocalUser and press Enter to view all user accounts.
- Once you identify the account you want to delete, type Remove-LocalUser -Name “USERNAME” and press Enter. Replace USERNAME with the actual account name.
This process will permanently delete the user account, but the data for that account will remain safe in the Users folder.
5. Delete a User Account Using Netplwiz Command
You can also delete a user account using the User Accounts dialog option, which is easy to execute, but for this, you need to know the correct command. If you want to use this method then follow the steps.
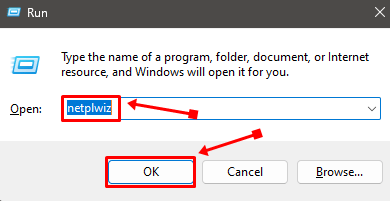
- Press Windows + R to open the Run dialog box, then type Netplwiz and click on OK.
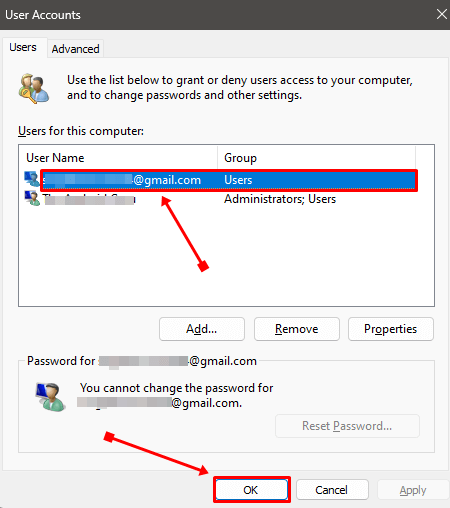
- Select the user account from the list that you want to delete, then click on the Remove button.
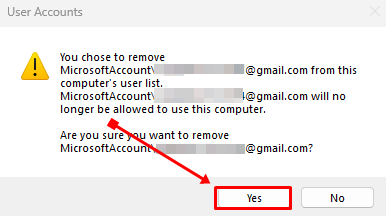
- Click on the Yes button for confirmation, and then press OK.
6. Delete a User Account Using Computer Management
Computer Management is also a good option to remove user accounts from Windows without losing data.
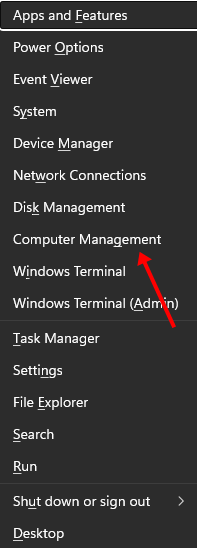
- Press Windows + X and select the Computer Management option.
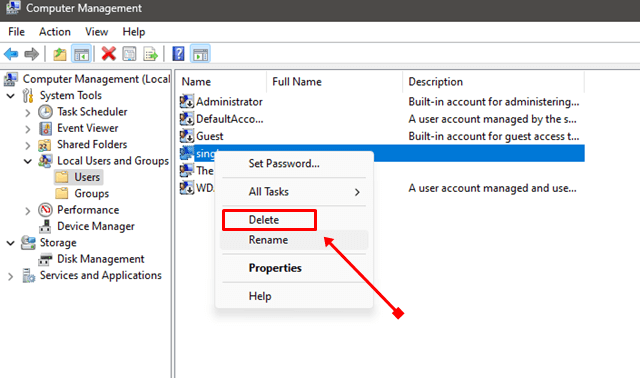
- In the left panel of Computer Management, you will see a drop-down menu under Local Users and Groups, click on it and then select Users.

- Right-click on the user account you want to delete and then select the Delete option.
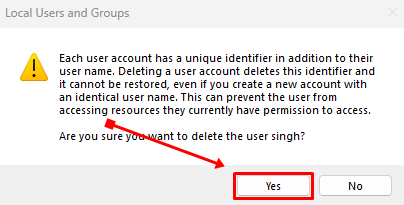
- Finally, click on the Yes button to confirm.
Conclusion
That’s all for this guide. I hope you found this Delete User Accounts in Windows 11 guide informative and useful. These methods are properly working, and you can use any of them to remove a user account from Windows. If you experience any issues with any method, please share them in the comments section, and we will provide the best solution.
#Delete #User #Account #Windows #TechDator