
Windows Push Notifications User Service High Memory usage
If Windows Push Notifications User Service is consuming high Memory or CPU usage in Windows 11/10, here is how you can eliminate this problem. It likely happens when you start your computer or connect it to the internet after a long time since all the apps try to show notifications at once.

What is Windows Push Notifications User Service?
Windows Push Notifications User Service is a service that helps you get all the notifications or updates from various apps installed on your computer. If you get a badge, tile, toast, or any other type of app notification, you should know that the Windows Push Notifications User Service is working in the background.
Windows Push Notifications User Service High Memory or CPU usage
To fix the high Memory or CPU usage issue in Windows Push Notifications User Service on your computer, follow these instructions:
- Stop Windows Push Notifications User Service process
- Restart Windows Push Notifications User Service
- Disable all notifications
- Fix in Clean Boot state
As we mentioned, it could happen if you have connected your PC to the internet after a long time. So at such times, you may ignore it as the issue will go away. But if this happens often, read on.
1] Stop Windows Push Notifications User Service process
To stop the Windows Push Notifications User Service process, you can use Task Manager. The easiest way to open the Task Manager is by using the keyboard shortcut Ctrl+Shift+Esc. Once you open the Task Manager, you can sort the Background processes by Memory usage, or you can also look for the Service Host: Windows Push Notifications User Service process manually.
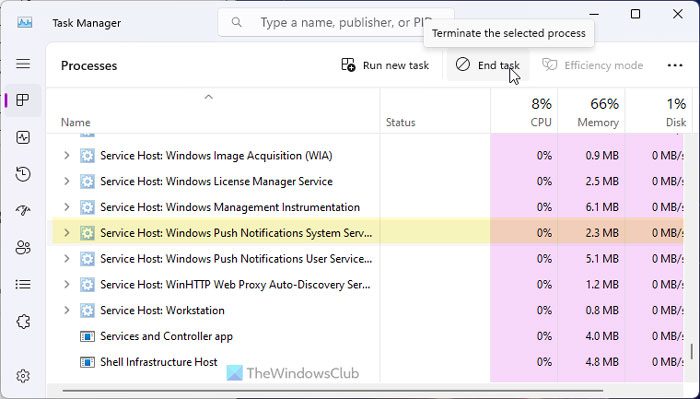
Select this process and click the End task button.
Although it doesn’t solve the problem permanently, you can find some time to work on other things instantly.
2] Restart Windows Push Notifications User Service
The Services panel in Windows 11/10 shows everything, including the Windows Push Notifications User Service process. As per our experience, restarting the service helps you fix the problem when certain background dependencies do not work as they should be.
Therefore, search for services in the Taskbar search box and open the Services panel first. Then, search for Windows Push Notifications User Service and double-click on it.
Click on the Stop button and stop it. Once done, click on the Start button.
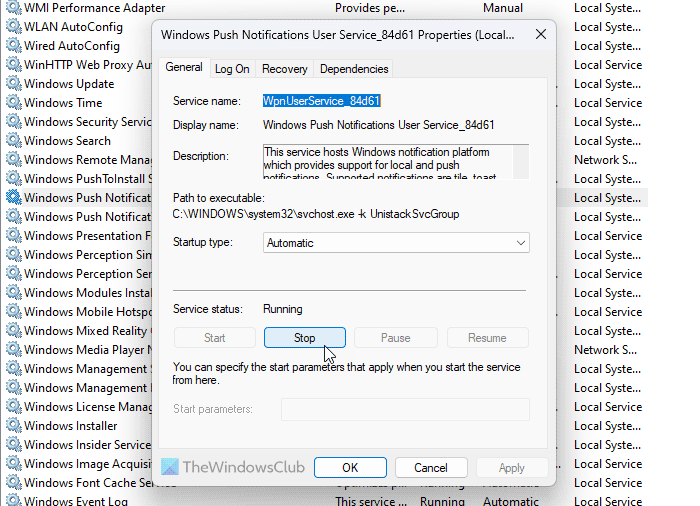
Finally, click on the OK button.
3] Disable all notifications
If notifications are not mandatory for you, this solution works pretty well. As this problem occurs due to having so many notifications from different apps, you can stop receiving notifications to solve this issue.
For that, press Win+I to open the Windows Settings panel and go to System > Notifications.
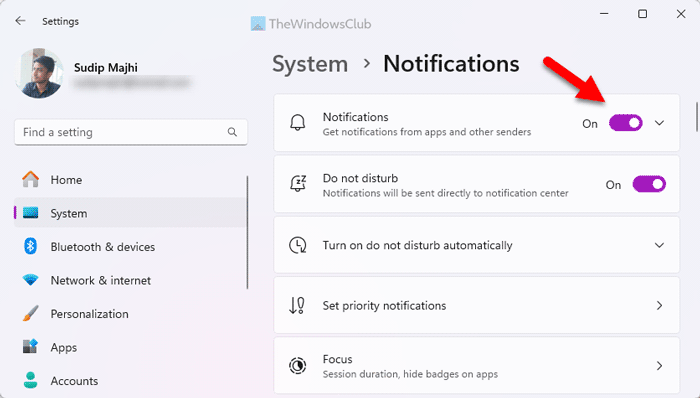
Here, you can find a menu called Notifications. You need to toggle the corresponding button to turn it off.
4] Fix in Clean Boot state
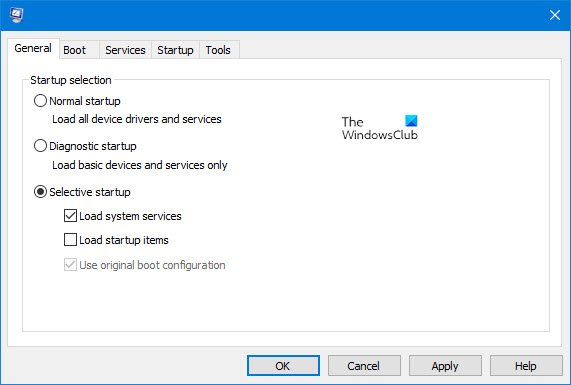
Clean Boot state helps you figure out whether a problem is occurring due to an internal driver or third-party app. Therefore, you can boot your computer into the Clean Boot state first.
Then, check if you are having the same problem or not. If not, you must enable one app at a time and repeat the same thing.
Note: If you use an Insider version of Windows 11, it could be a bug or glitch, too. In that case, check if Microsoft has already recognized it or not. If yes, hopefully, you will receive an update soon.
How to disable Windows Push Notifications User Service?
You can disable Windows Push Notifications User Service in Windows 11/10 using two methods:
1] Using Windows Settings
In order to deactivate Windows Push Notifications User Service, you need to disable the Notifications setting. Having said that, you must disable all the notifications at once. If any app is capable of sending notifications, it won’t work. For that, you need to open the Windows Settings panel and go to System > Notifications.
Find the Notifications menu and toggle the corresponding button.
2] Using Services
You can disable Windows Push Notifications User Service by disabling the respective background service using the Services panel. For that, search for services in the Taskbar search box and click on the individual search result. Then, find the Windows Push Notifications User Service_[unique-number] and double-click on this service.
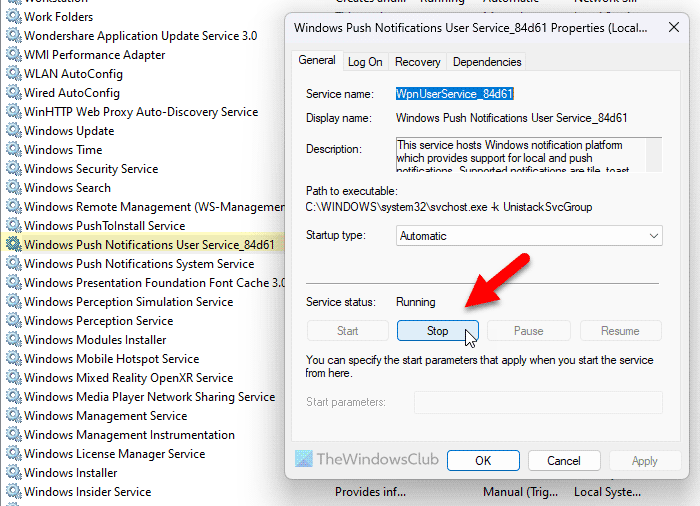
Click the Stop button and let it be terminated. Finally, click the OK button.
Windows Push Notifications User Service has stopped working
Windows Push Notifications User Service has stopped working; you need to check the Notifications setting first. You can follow this guide to enable overall Notifications or app-specific notifications in Windows 11/10. Following that, you can check if the respective service is running or not. For that, you can go through the aforementioned guide. If the status is marked as Stopped, you need to click the Start button.
Read: Reduce high Chrome Memory usage & make it use less RAM
Can I disable Windows Push Notifications User Service?
Yes, you can disable Windows Push Notifications User Service in Windows 11 as well as Windows 10. There are mainly two ways to do that – using Windows Settings and Services. Although you can use Task Manager to get the same result, it is temporary.
What happens if I turn off push notifications?
If you turn off push notifications, you won’t get any notification badge, tile, toast, or anything else. Even if the app is running or the internet is working, you cannot receive notifications. However, you can find all the updates once you open the respective app.
Read: Fix 100% Disk, High CPU, Memory or Power usage in Windows.
#Windows #Push #Notifications #User #Service #High #Memory #usage